Pay Attention !

Please note that we are not offer Cash on Delivery services.

අප ආයතනය Cash on Delivery සේවාව ලබා නොදෙන බව කරුණාවෙන් සලකන්න.

Metal DIY CO2 Kit

රු6,990.00

  • 2m Hose
  • 2pcs Counter sunk
  • Y connector
  • 2pcs O ring
  • 2pcs Non Return Valve
  • 2pcs Suction cup

in stock

Share:

Metal DIY CO2 Kit

රු6,990.00

  • 2m Hose
  • 2pcs Counter sunk
  • Y connector
  • 2pcs O ring
  • 2pcs Non Return Valve
  • 2pcs Suction cup

in stock

Share:

Transform your underwater world with our meticulously designed CO2 Generator Kit. Crafted from durable aluminum alloy, this kit ensures long-lasting performance, giving your aquatic flora the optimal conditions for vibrant health and lush growth.

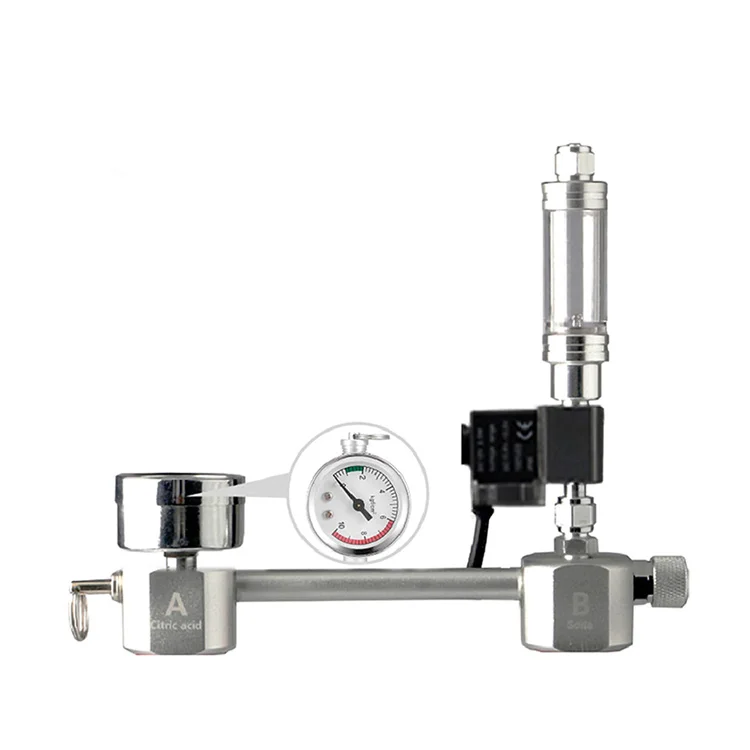
  • Concise design – The main body made of aluminum alloy with oxidation treatment
  • Ruggedness – Aluminum alloy material instead of a plastic
  • Precise adjustment – Copper needle valve provides fine tuning
  • Superior safety – Equipped with a safety valve pressure greater than 4kg triggers automatic pressure relief. The relief valve supports manual pressure relief. When the pressure is less than 4kg, the pressure can be relieved through the gripper of the relief valve safety.


Step 1: Add the Raw Materials

Step 1: Add the Raw Materials

  • Bottle A: 200g of Citric Acid + 600ml of warm water
  • Bottle B: 200g of Baking soda + 200ml of water
  • Shake it well


Step 2: Connect bottles to co2 generator body

Step 2: Connect the Bottles to the CO2 Generator

  • Bottle A – Citric Acid
  • Bottle B – Baking Soda
  • Screw in place.


Step 3: Start CO2 reaction

Step 3: Initiate the CO2 Reaction

  1. Open the fine-tuning valve.
  2. Press Bottle A. When the acid enters Bottle B and bubbles arise, close the fine-tuning valve immediately.
  3. The optimal pressure is 1-2 Kg. If it does not reach at least 1.5 Kg, open the fine-tuning valve and release the CO2 for 5-10 seconds. When the acid re-enters Bottle B, close the fine-tuning valve immediately and shake Bottle B from side to side to ensure full reaction for about 2 minutes. Check again whether the pressure reaches 1-2 Kg; if not, repeat this step as needed.
  4. IMPORTANT: Many customers feel concerned when the pressure is too low, thinking the pressure gauge is broken. Repeat this operation 5-10 times to reach the ideal pressure value!


Step 4: Install solinoid valve and bubble counter

Step 4: Install the Solenoid and Bubble Gauge

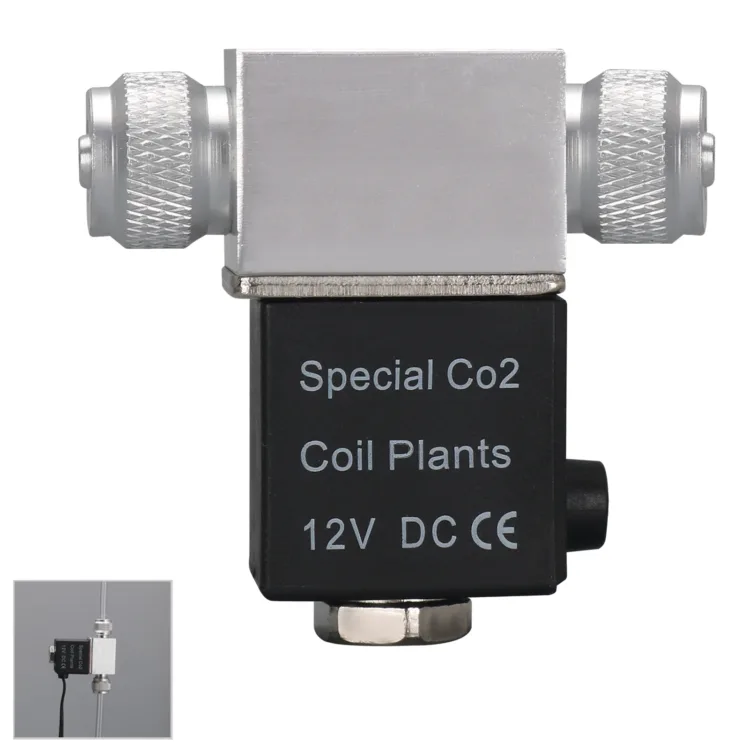
  • Install the solenoid valve and bubble counter. Adjust to the appropriate CO2 flow output.
  • IMPORTANT: When installing the solenoid valve and bubble counter, ensure that the connection includes a small O-ring seal to prevent CO2 leakage.
Weight 0.4 kg

Reviews

There are no reviews yet.

Be the first to review “Metal DIY CO2 Kit”

Your email address will not be published. Required fields are marked

You may also like...

DIY CO2 System Kit

රු3,950.00

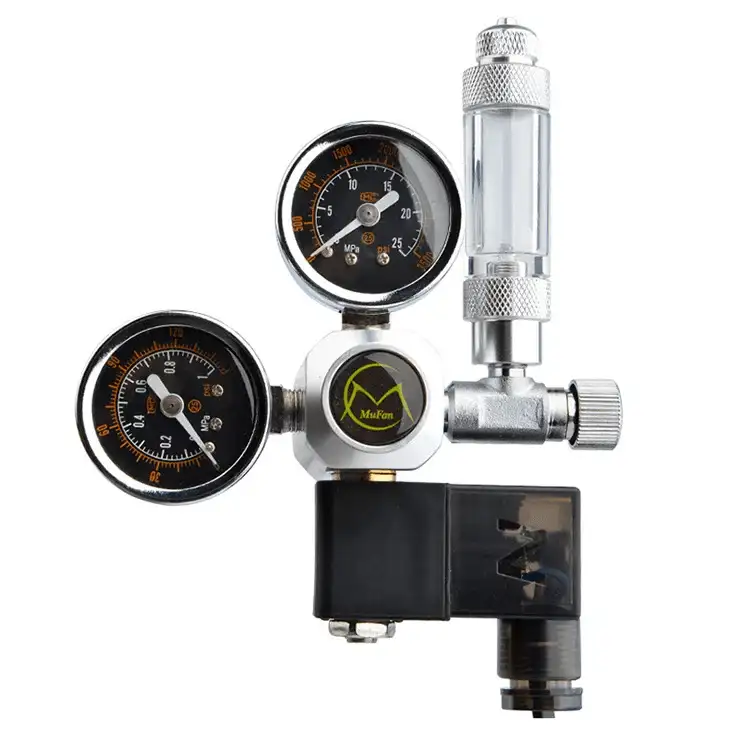
Mufan CO2 Regulator

රු11,490.00

CO2 Cylinder

රු15,990.00රු22,490.00

DIY CO2 Kit

රු4,900.00

Related Products

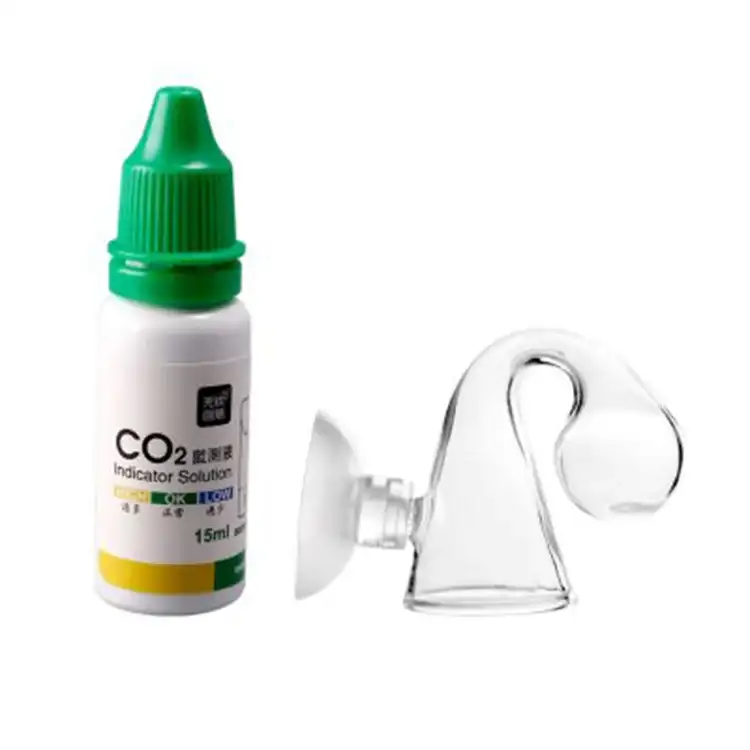
QANVEE CO2 Diffuser

රු1,850.00රු2,000.00

CO2 Super Diffuser

රු2,290.00රු2,390.00

CO2 System Solenoid Valve

Original price was: රු4,500.00.Current price is: රු3,990.00.

Mufan CO2 Diffuser

රු1,490.00

Neo Original CO2 Diffuser

රු2,000.00රු2,500.00

Citric Acid

රු200.00

Baking Soda

රු150.00